From Blockhead to Builder: My 10-Step Minecraft Home Makeover
Minecraft base building tips for beginners and advanced players: avoid boxy builds with creative steps, new blocks, and biome inspiration.
Admit it: at some point, your Minecraft base looked like a shoebox. A perfectly functional, hilariously ugly shoebox. I’ve been there—whole servers have laughed at my \u201cmodernist cube.\u201d But after years of trial, error, and many, many tears (mostly from falling off scaffolding), I’ve distilled the art of building into ten painless, slightly silly steps. And since it’s 2026, we’ve got new blocks, new biomes, and even more excuses to avoid the dreaded box. So grab your pickaxe and let’s turn that dirt hovel into a place you’ll actually screenshot.
Step 1: Location, Location, Loca—Wait, Not a Superflat Desert Again?
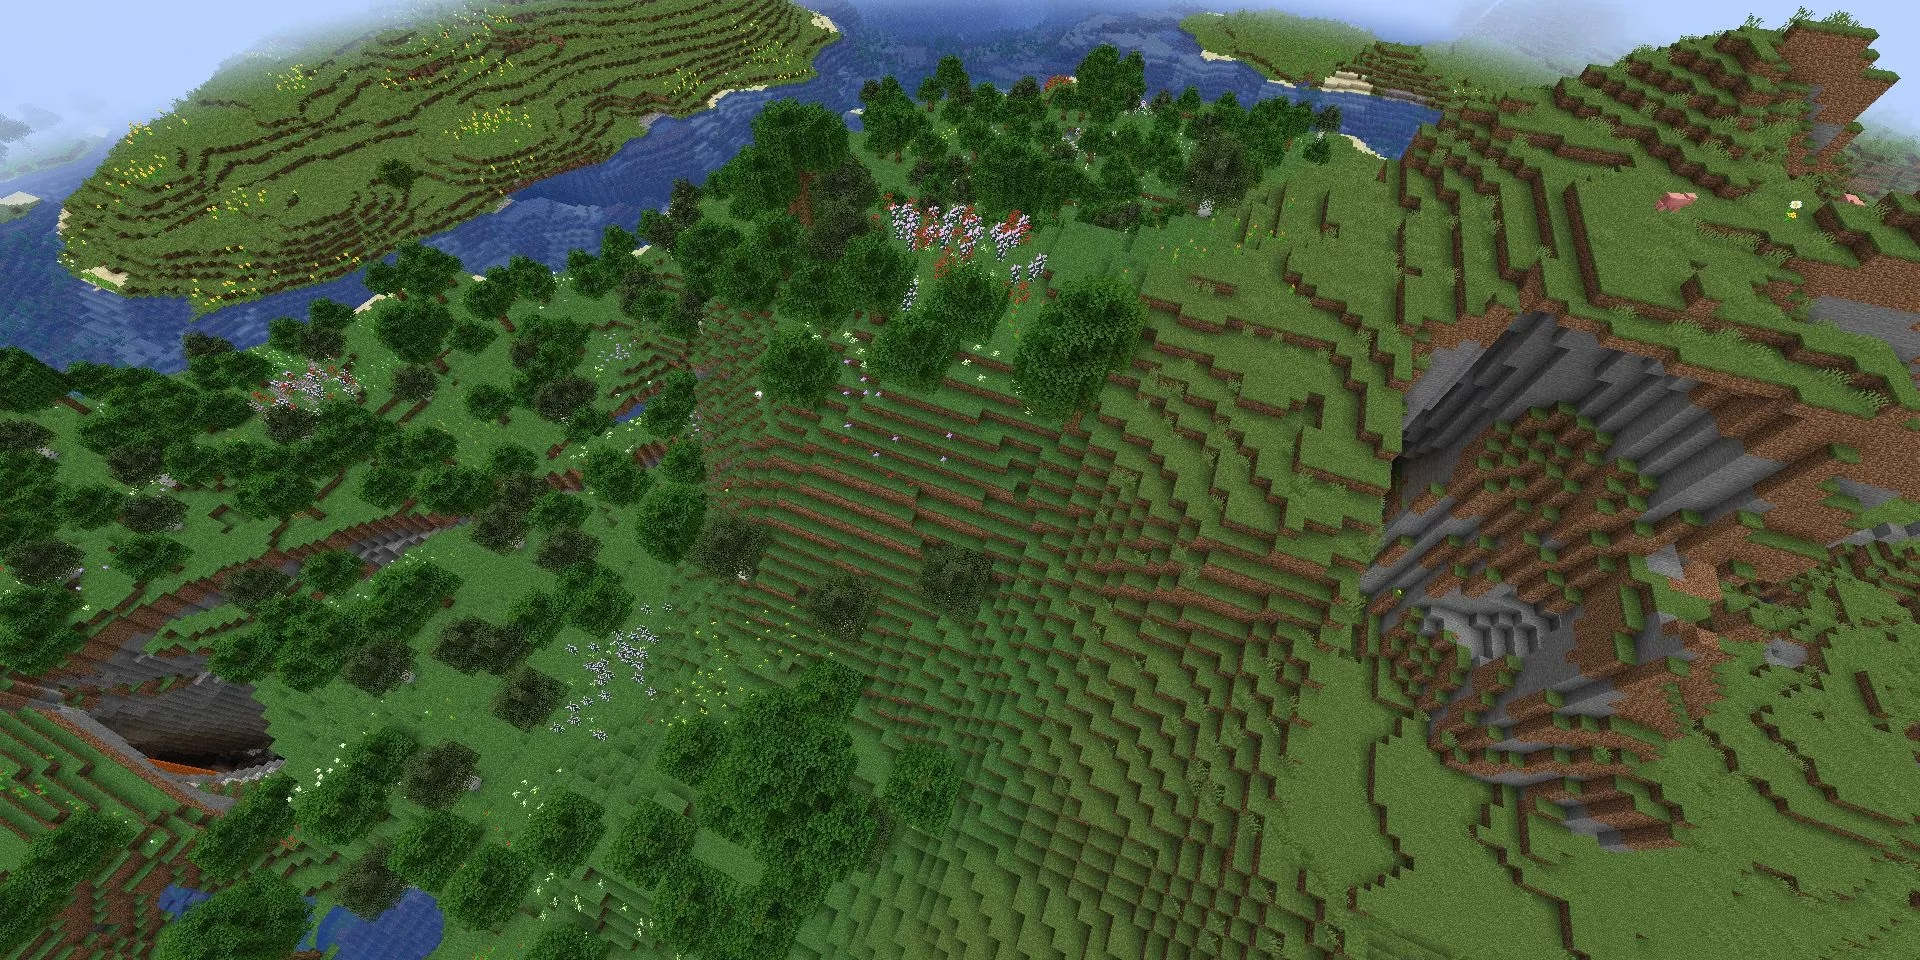
The first thing I learned (the hard way) is that even the most glorious palace looks silly perched in the middle of an empty plain, alone like a rejected LEGO set. Spend five extra minutes walking. Find a flower forest, a dramatic cliff edge, a cozy mangrove swamp. If you’re on a multiplayer server and need to stay near friends, at least scout for a little hill or a natural crater. Building on uneven ground adds instant character—just remember to add supports so your mansion doesn’t float like a physics anomaly.
Step 2: Outline Like a Toddler with Chalk, But Cooler
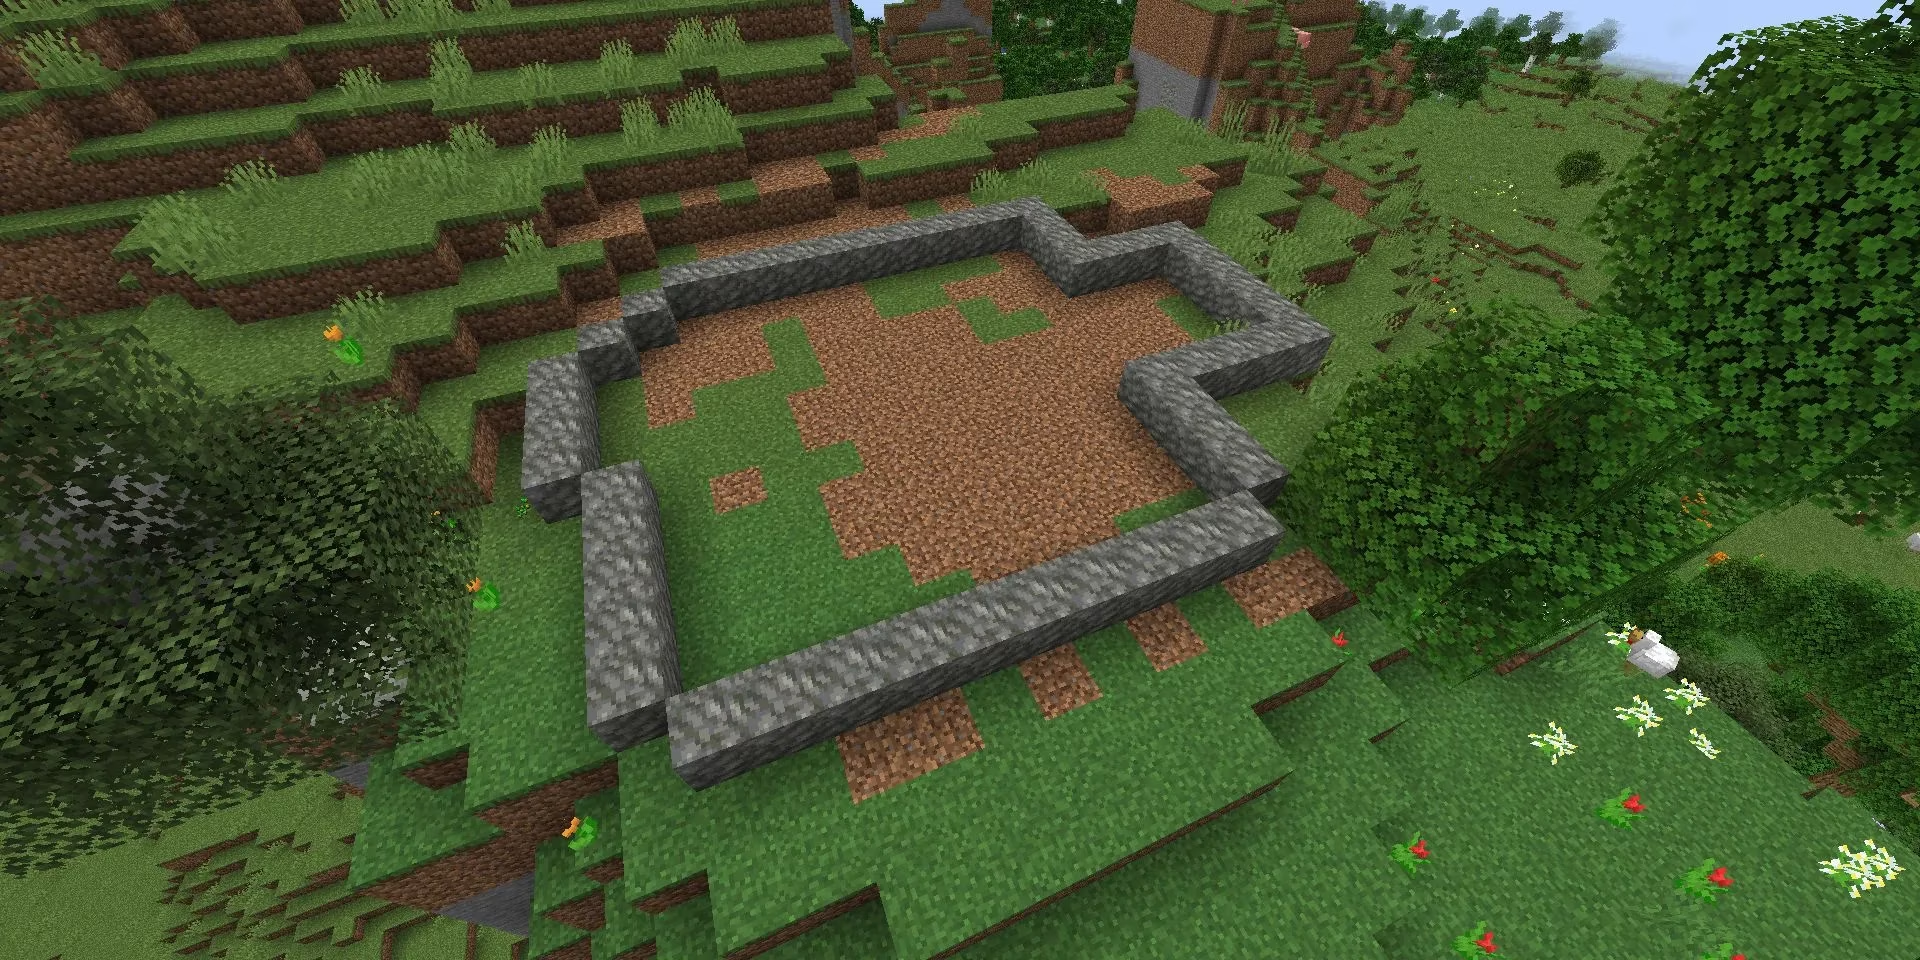
Before I became a building wizard, my floor plans were rectangles. Now I sketch my base with blocks—usually something cheap like dirt or, honestly, any ugly block I have too much of (looking at you, diorite). The key? Don’t draw a box. Add angles, bump-outs, wings. Actual houses have corners and weird little alcoves where you’d stick a reading nook. My current outline looks like a starfish that lost a fight, but the final result is chef’s kiss.
Step 3: Framework – The Stick-Figure Phase
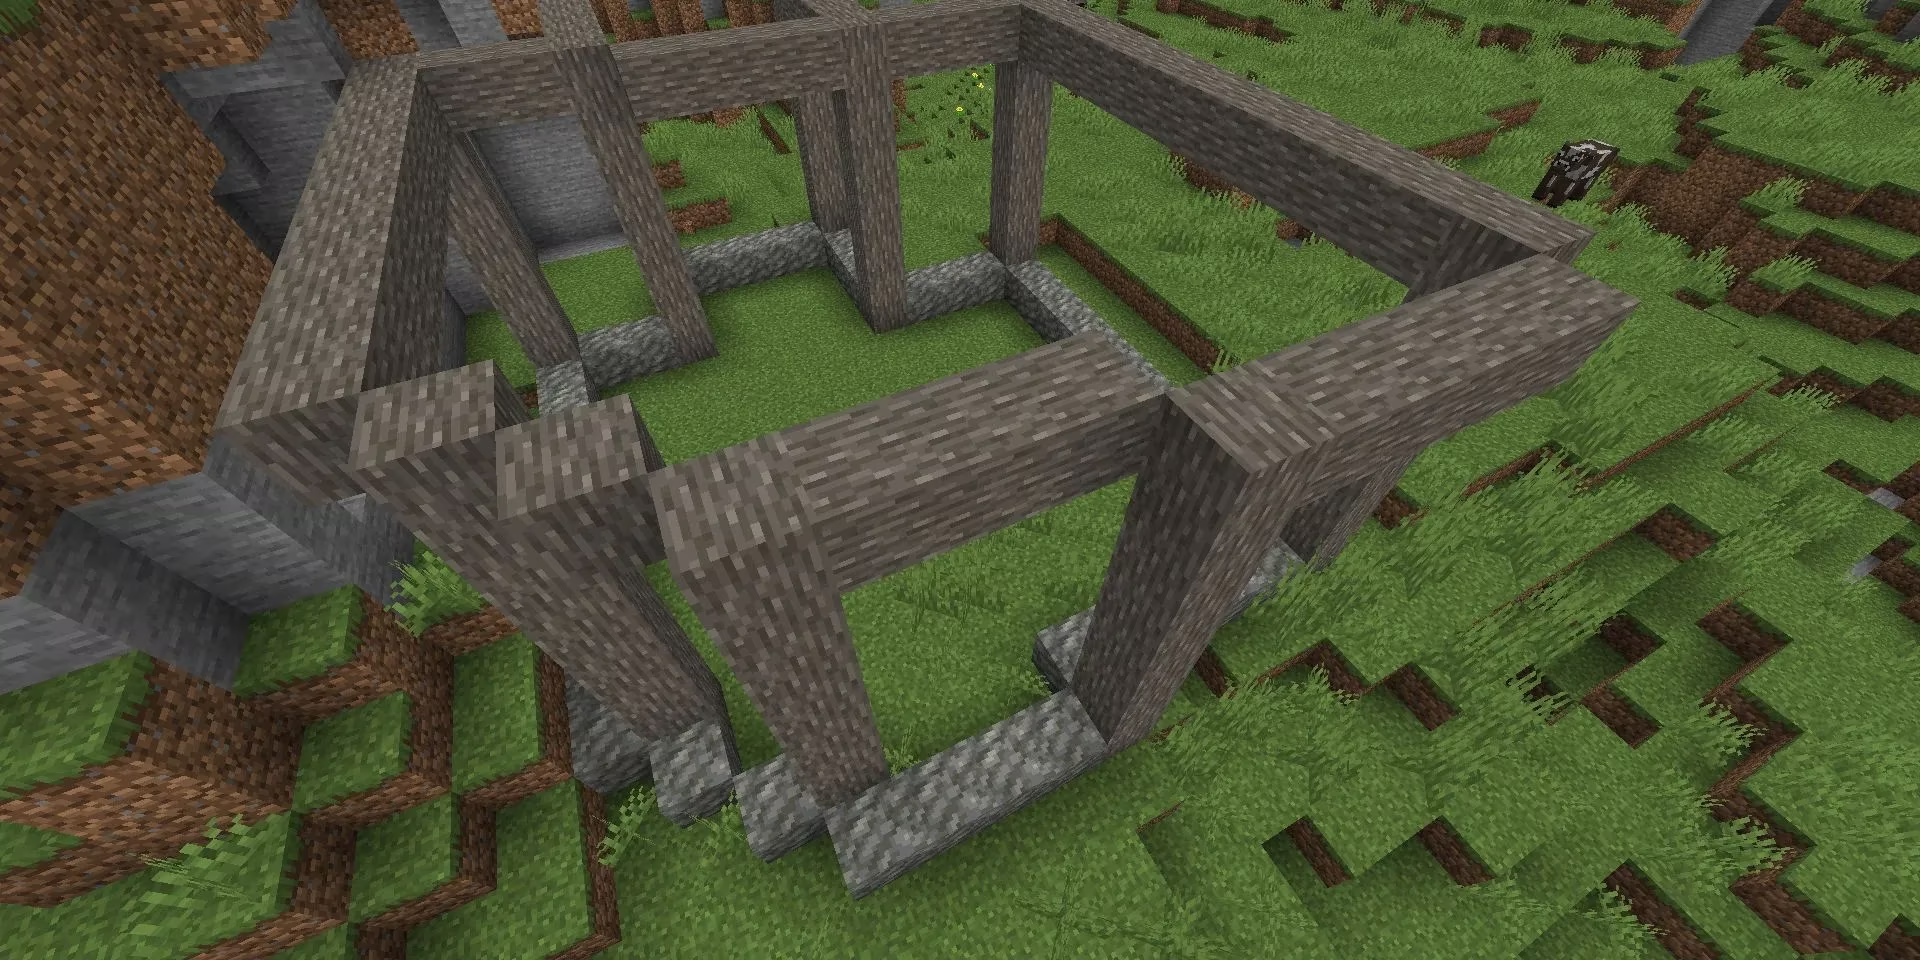
Now we go vertical! Think of this as the skeleton of your building, the 3D wireframe. I like to use slime blocks or scaffolding because I can punch them out later without inventory remorse. Build posts at corners, beams for floor levels, and maybe a dramatic archway. It’s like playing with Lincoln Logs, except you’ll probably fall off and curse a lot. The point is to see the volume before you commit—this step eliminated 75% of my \u201cwhy is the roof eating my head\u201d moments.
Step 4: Walls That Don’t Scream \u201cMob Diner\u201d
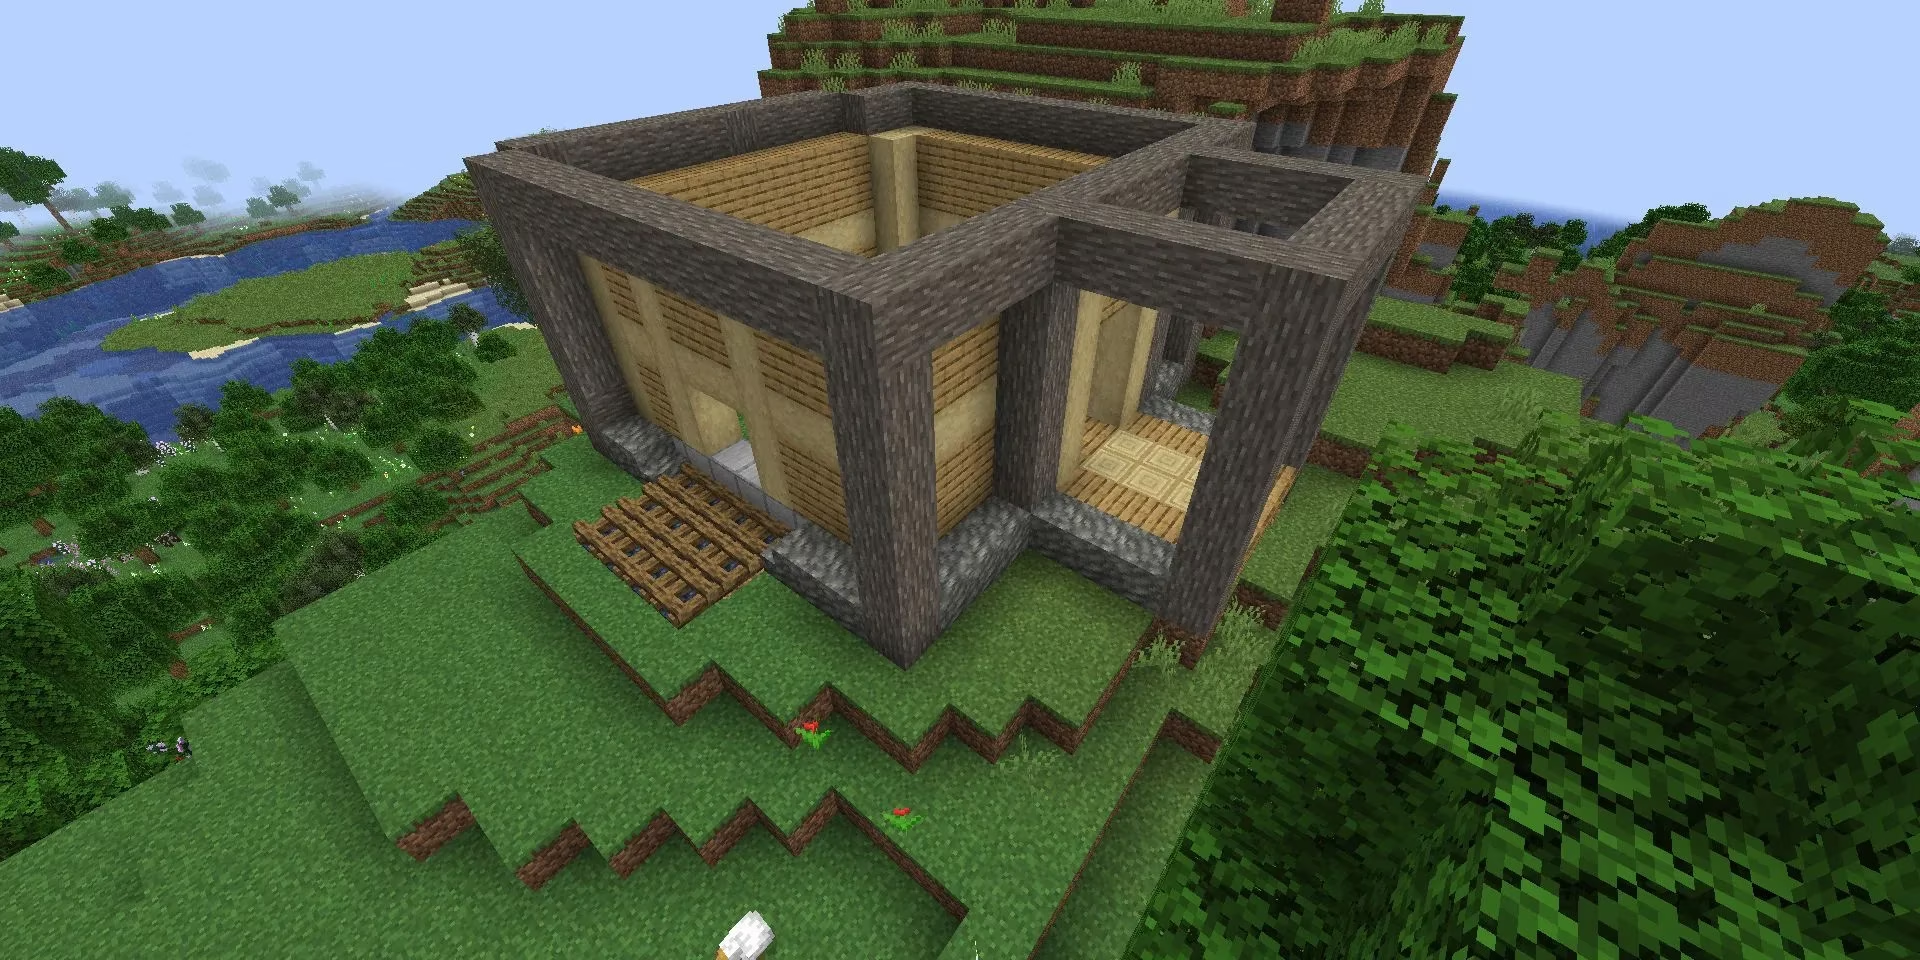
Finally, we fill in the gaps! Use blocks that contrast with your framework—I’m addicted to dark oak logs paired with white terracotta. The walls are your canvas, so don’t just slap down a full block of planks. Carve out big windows, leave holes for balconies, maybe even try a diagonal wall if you’re feeling brave. Remember: mobs can’t judge your design if they can’t see you, but a well-placed window makes them admire your taste before they explode.
Step 5: Floors – The Ground is Lava (But Make It Fashion)
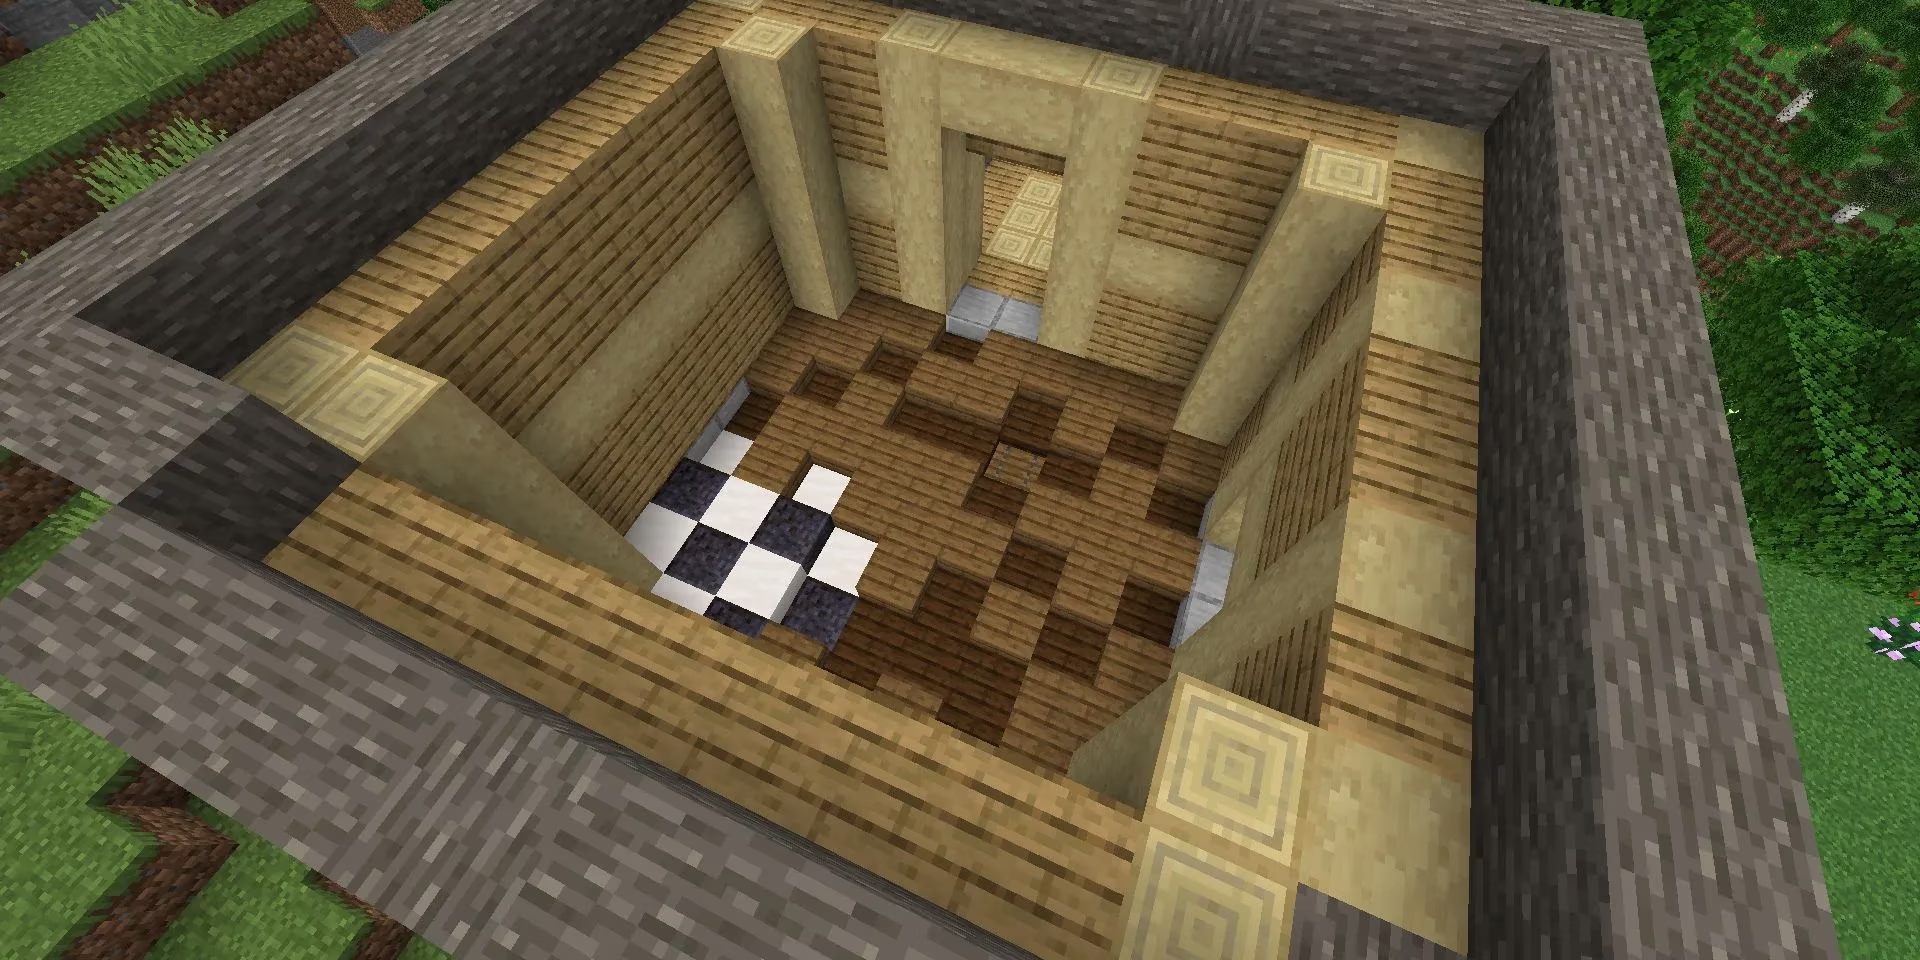
Now that you’re safely walled in, look down. Is the floor dirt? Grass? A mess of misplaced crafting tables? Give it some love. I use a simple pattern: polished diorite with a border of deepslate tile. If you’re doing multiple stories, remember to leave a hole for stairs—or install a slime block elevator because it’s 2026 and we have standards. Pro tip: hiding glowstone under carpets means your floor literally glitters.
Step 6: Roofing – The Final Boss of Basic Structures
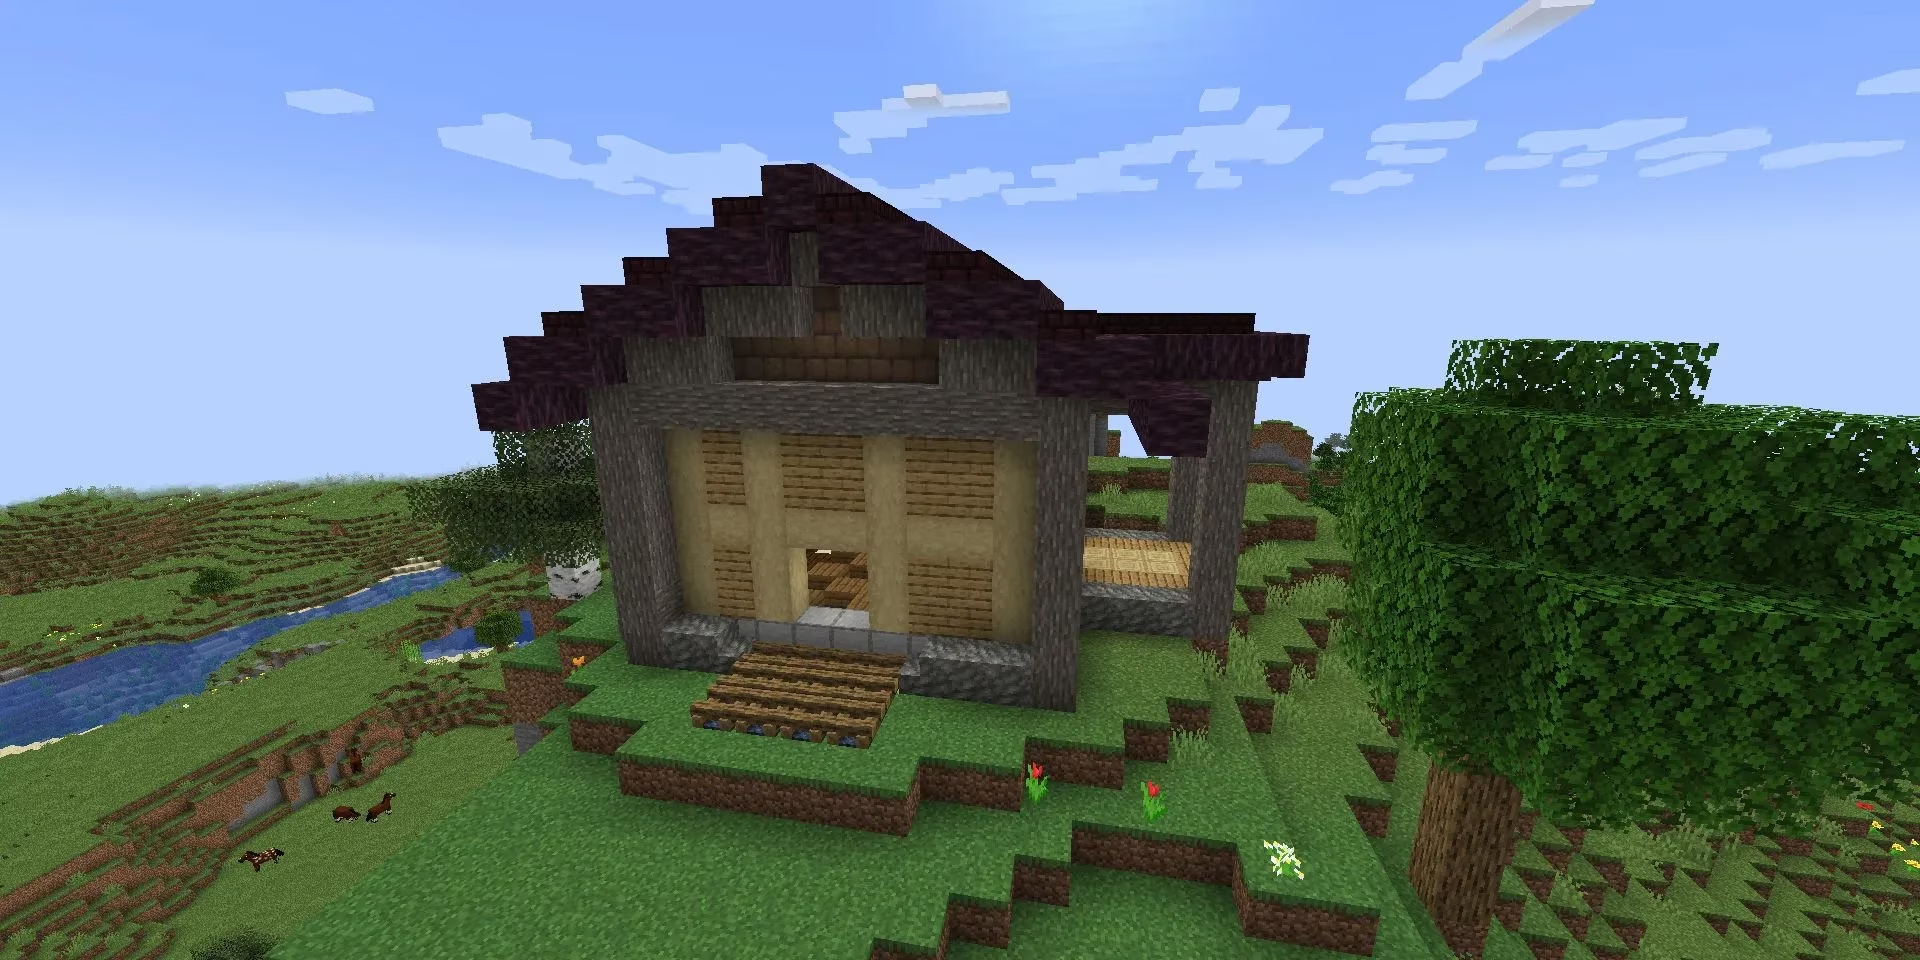
I used to fear roofs. Flat roofs are the architectural equivalent of giving up. A simple slope (even one block up for every three over) transforms a house from \u201cokay\u201d to \u201cwow, that’s not terrible!\u201d My current obsession is cherry log roofs—they look like pink cake. Experiment in a creative world first; I have a whole test superflat dedicated to roof catastrophes. Overhangs add that \u201cI know what I’m doing\u201d flair.
Step 7: Depth – You Are Not a 2D Villager
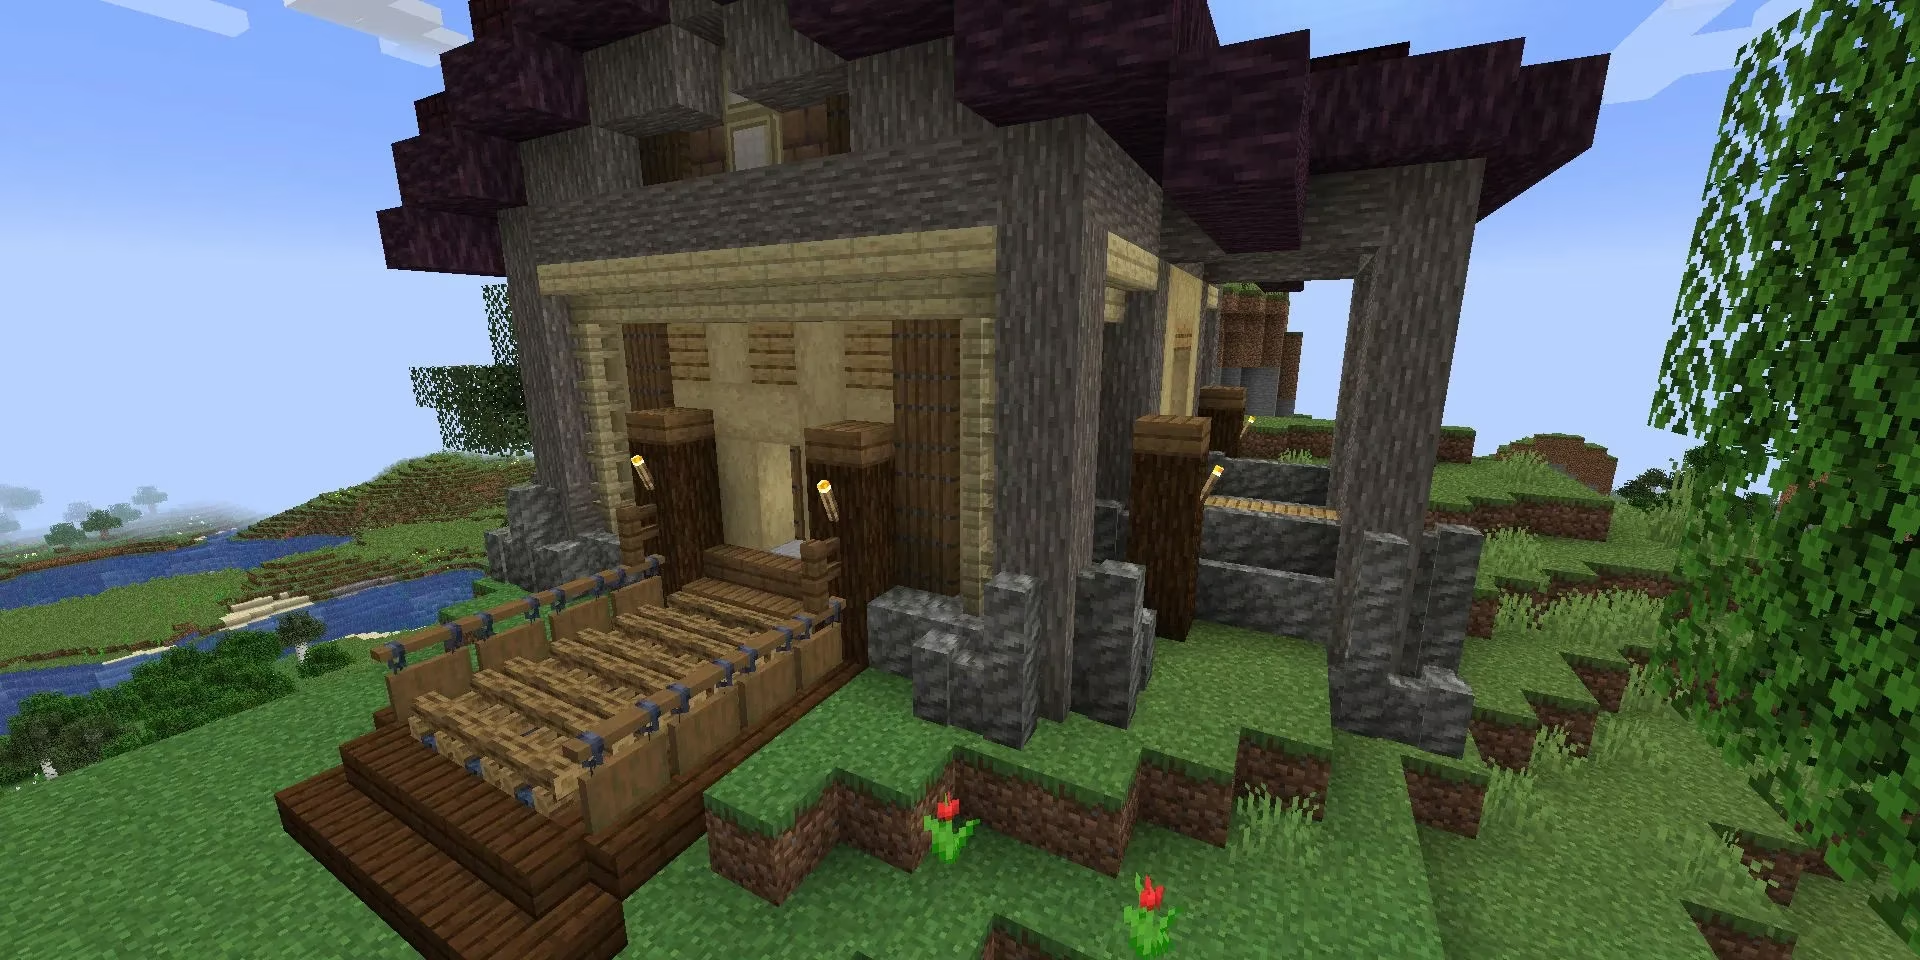
If your walls are still a flat surface of doom, let’s fix that. Fences, trapdoors, stairs—these are your friends. Place them around windows, along corners, anywhere a shadow could exist. I once covered an entire house facade in oak trapdoors and it looked like a medieval cottage on steroids. Even a simple fence post as a porch column breaks up the visual monotony. Your house will stop looking like a giant cereal box and start looking like a stylish giant cereal box.
Step 8: Detailing – It’s All in the Petunias
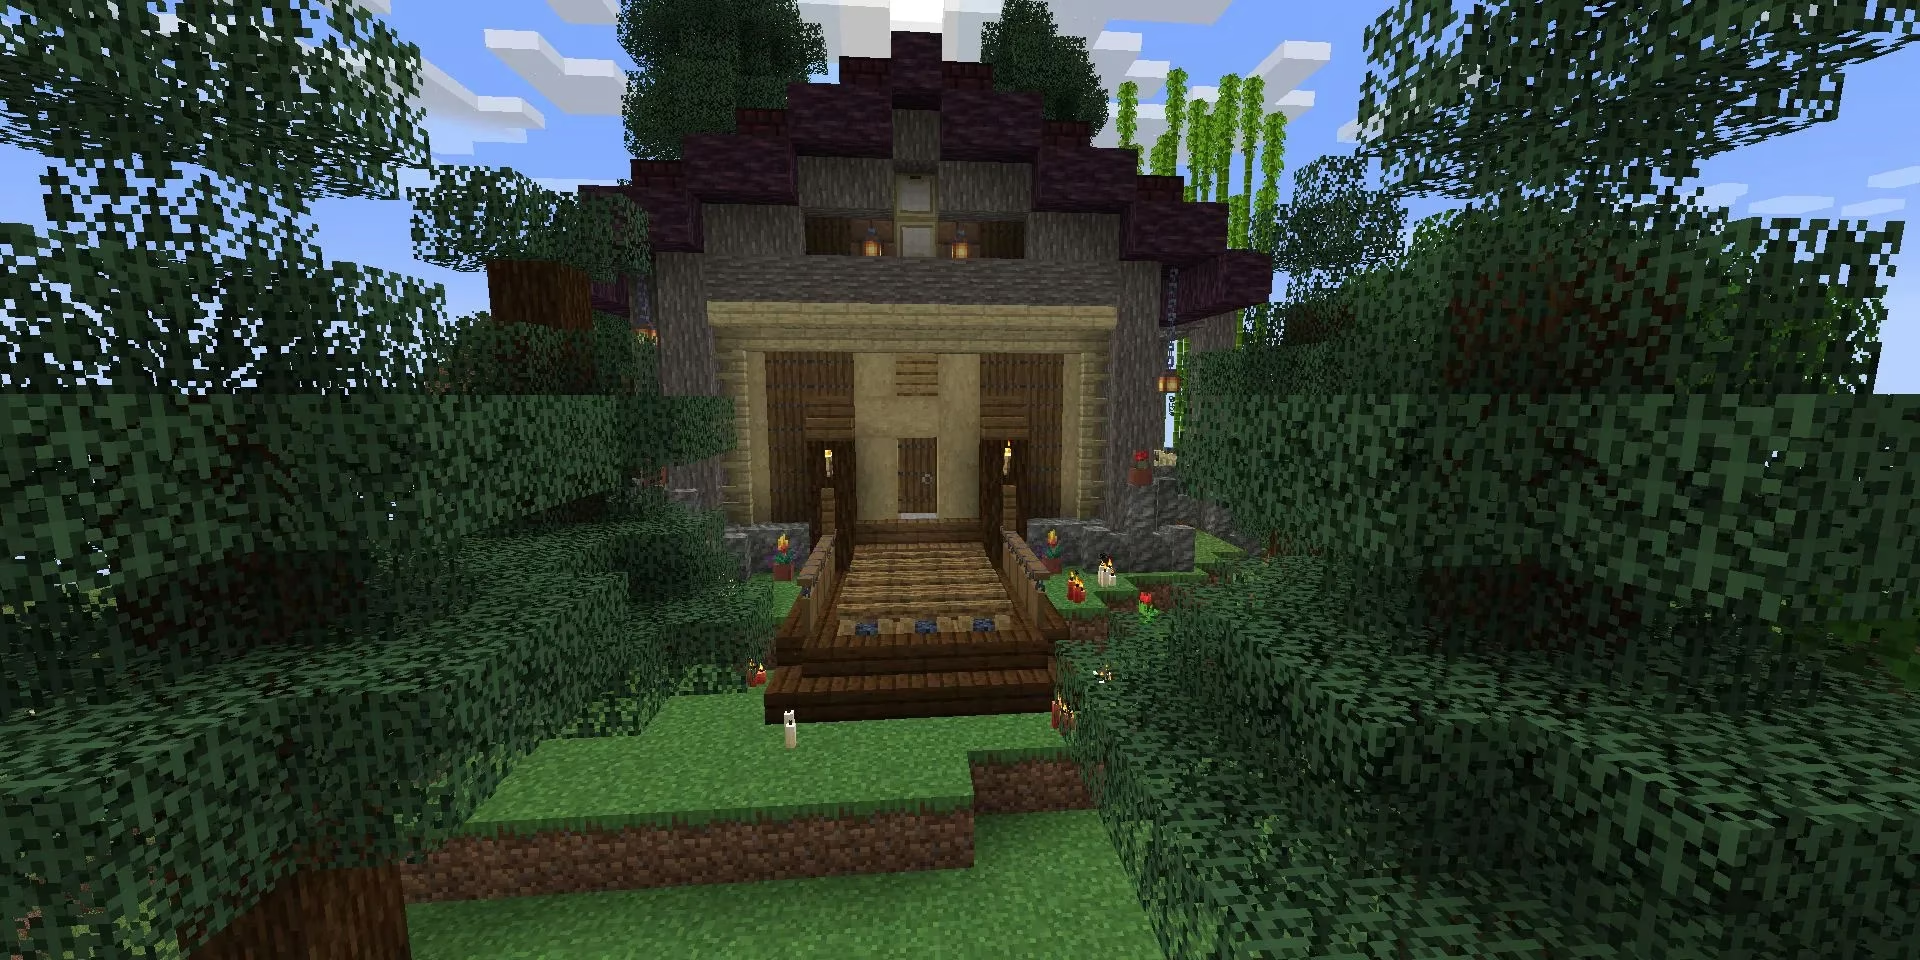
Now we become miniature gardeners. Flower pots, vines, custom trees, banners—these tiny touches tell anyone who visits, “I have made it.” Line your paths with azalea bushes, hang lanterns at different heights, drop a flower pot on every sill. Inside, craft item frames with tools for a workshop vibe. My kitchen has a random llama in a minecart for no reason. It’s the #cottagecore energy we deserve.
Step 9: Filling Out – A Base That Actually Works
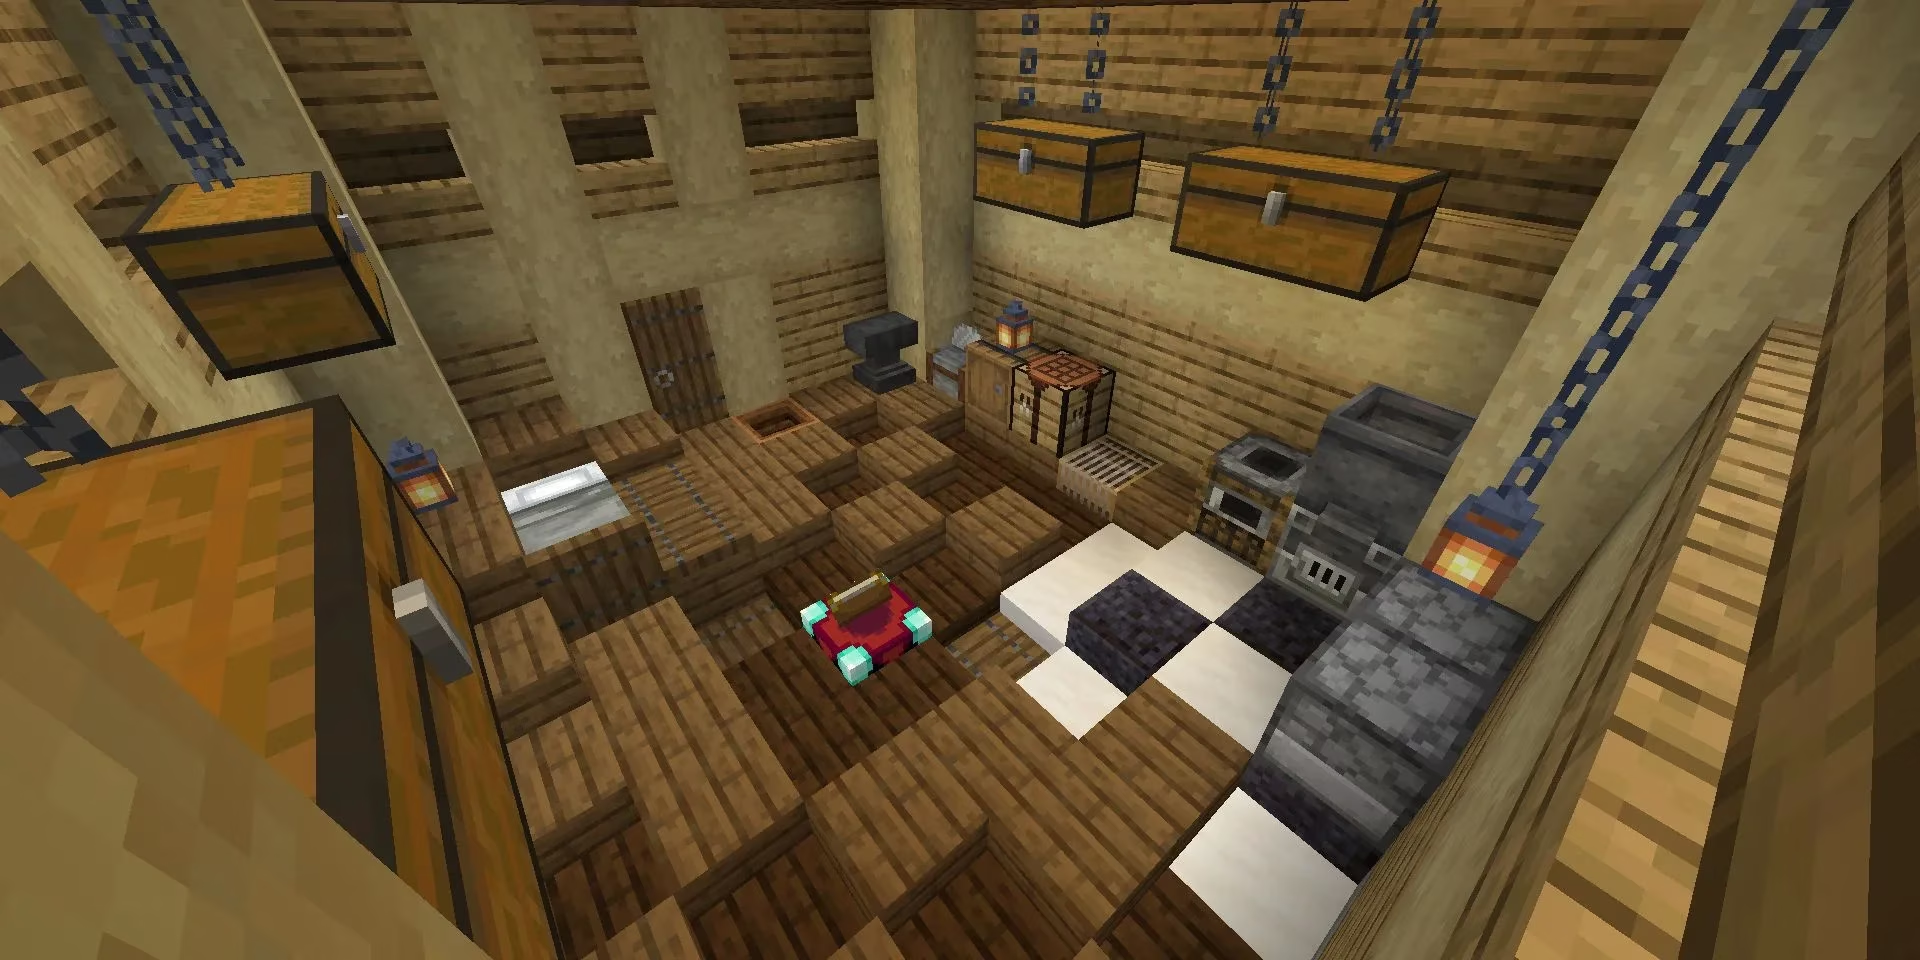
Time to move in! A pretty shell is useless if you have to craft in the rain. Design dedicated rooms: an enchanting corner with candles, a smelting wall that looks industrial-chic, a storage system that doesn’t make you weep. I’m currently using a shulker-box-sorting monstrosity that hums like a robot. Add silly things too—a pet parrot named Kevin, a jukebox playing \u201cPigstep,\u201d or a secret Redstone door to the snack stash. If your build makes you smile, you’ve won.
Step 10: Finishing Touches (Forever and Ever, Amen)
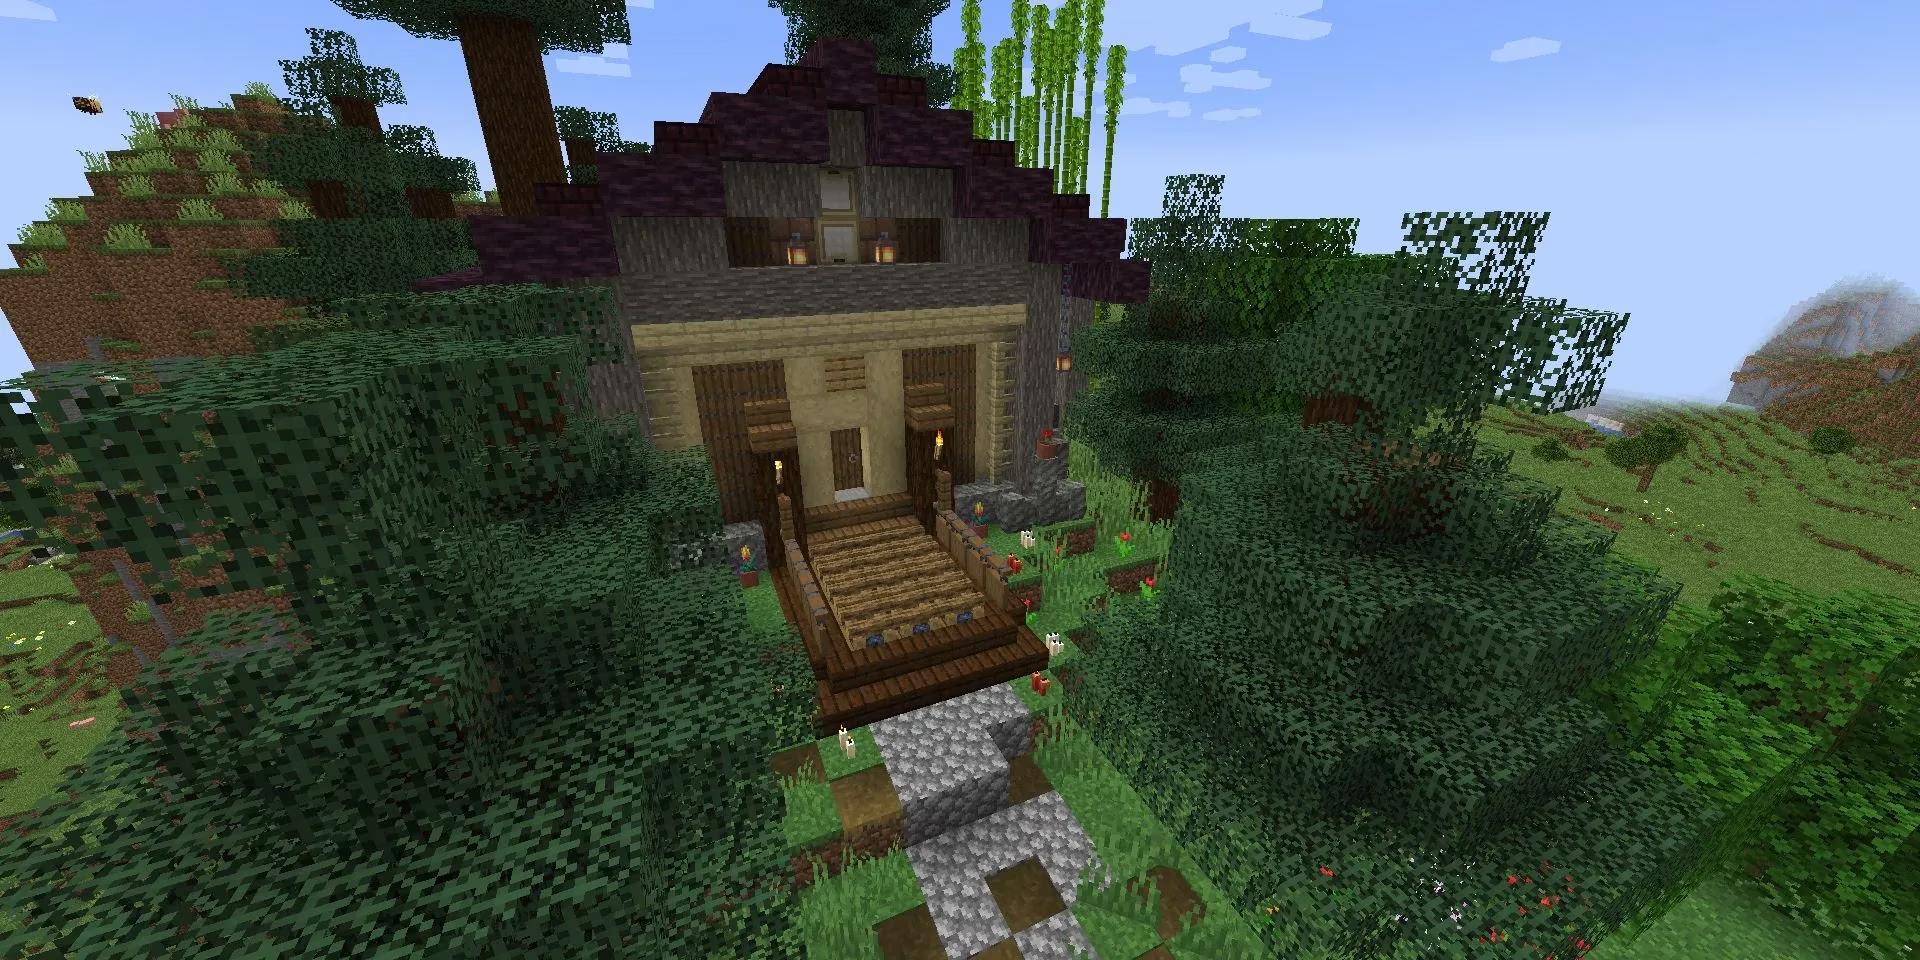
Here’s the secret: you’re never done. I log in, stare at my base for ten minutes, decide the chimney is off by a block, and spend two hours in a fugue state fixing it. This is normal. The finishing touch phase is an ongoing relationship with your build—it evolves, you evolve, maybe you add a hot-air balloon or a moat of axolotls. Embrace the chaos. Because that house you started in 2025? In 2026 it’s a village.
And there you have it: my decade-long journey from brick box to builder. Remember, every great Minecraft city began with someone who refused to settle for a flat roof. Now go forth and make something gloriously, unnecessarily detailed. Your friends will be jealous, and the creepers will be momentarily impressed before detonation.